Color grading plays an incredible role in the post-production process. With the power to set the mood, evoke emotions, and create a cohesive aesthetic, color grading can make a world of difference in captivating your audience and immersing them in your storytelling.
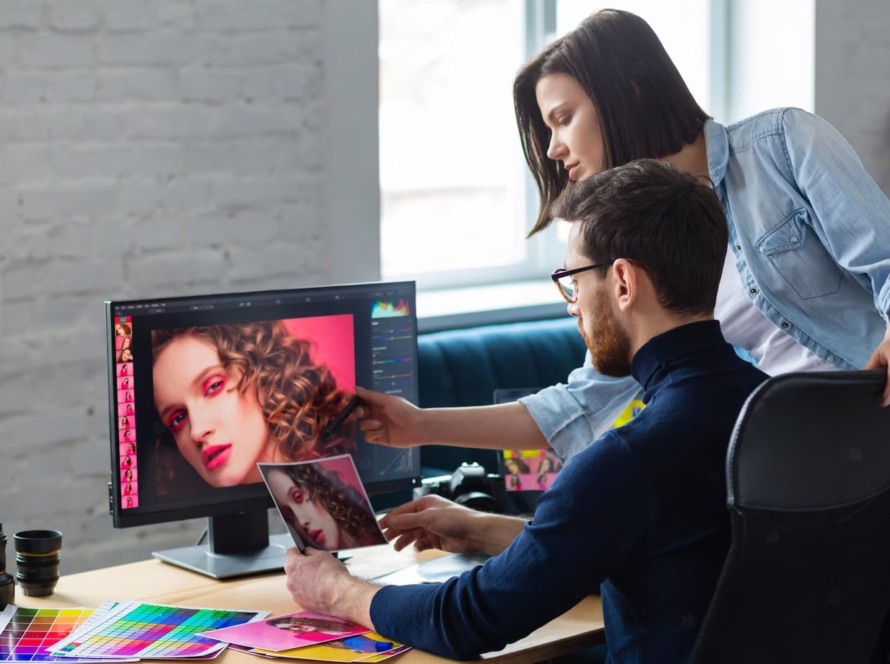
But it takes a pro to create stunning results with color grading. At Motion Grades, that’s what clients come to us for. Added to our expertise in color grading is our use of powerful and professional-grade editing software. DaVinci Resolve is the tool our experts swear by.
That said, let’s dive into five incredible techniques we use to achieve stunning results in our color-grading projects. Read on as we share our insider tips and favorite tricks with you.
Technique 1: Building the Node Tree
Setting up the Node Tree is like laying the foundation for a successful color grading journey. It’s crucial because it determines the order in which the image will be processed. Think of it as a roadmap that guides us through the color grading process.
One important node to include is the CST (Color Space Transform), which converts RED LOG to rec.709, ensuring accurate colors and a standardized color space. Before diving in, it’s essential to gather camera specifications. Knowing the camera’s unique characteristics allows us to make informed decisions and tailor our color grading approach accordingly.
Technique 2: Adjusting Lighting and Vignette
Every image has room for improvement, and our goal is to make it shine. We can identify areas where adjustments are needed by carefully analyzing the image. In this case, we notice the beautiful play of light hitting the window, which presents an opportunity to create a captivating vignette.
By strategically darkening the areas outside the vignette, we bring attention to the focal point and create a natural, immersive feel. We can also make the main subject stand out by applying techniques such as selective exposure adjustments and careful balancing of tones.
Technique 3: Primary Color Adjustments
Primary color adjustments play a vital role in achieving the desired look for our footage. With the help of primaries wheels, we have the power to enhance the overall color grading. We can bring out the details and add depth to the image by tweaking the gamma, gain, and contrast. Want to infuse warmth into the scene? We can do that too! By carefully adjusting the color channels, we can counteract unwanted yellow tones and achieve a more pleasing overall color balance. It’s all about finding the perfect combination that enhances the visual appeal of the footage.
Technique 4: Fine-Tuning with Log Wheels
Now it’s time to take our subject’s appearance to the next level using log wheels. These incredible tools allow us to fine-tune the high range, highlights, and mid-tones, perfecting the skin tones and overall look. By carefully adjusting the high range, we can strike the right balance, ensuring no details are lost in the highlights. Enhancing the highlights brings a touch of magic and visual interest to the image. To make our subject’s skin truly pop, we can subtly adjust the mid-tones towards red/magenta. And don’t forget about the shadows! Adding a touch of blue/magenta can create depth and make the shadows more captivating.
Technique 5: HSL (Hue, Saturation, Luminance) Adjustments
The HSL node is a powerful tool that allows us to achieve precise and nuanced color grading. With this technique, we can manipulate hues, saturation, and luminance to bring out the desired artistic vision. Let’s say we want to cool down the image or infuse it with warmth. By adjusting the hues, we can achieve these effects selectively, targeting specific areas of the image. To ensure a balanced look, we can also reduce saturation in the most saturated areas, avoiding overwhelming or distracting elements. It’s all about finding the right balance and creating a harmonious visual experience.
Here is a Bonus Tip: Creative Looks with Color Grading Presets
Here’s an extra tip to take your color grading to the next level: Creating creative looks with color grading presets!
Think of presets as these amazing little shortcuts that can work wonders on your footage. They’re like ready-made magic potions that instantly transform your ordinary clips into something extraordinary.
Whether aiming for that nostalgic vintage vibe, a futuristic and edgy style, or even something completely out-of-the-box, presets provide the perfect starting point to unleash your creativity. You can choose from various pre-made presets or create your own custom looks, allowing you to explore different styles and moods effortlessly. It’s your chance to experiment, break free from conventions, and let your imagination run wild. So try out those presets, and watch your footage come alive with unique and captivating visual aesthetics!
Final Words
We’ve covered five incredible techniques to transform your footage into visual masterpieces. From building the perfect node tree to adjusting lighting, playing with hues, and unleashing your creativity with presets, you now know what it takes to achieve stunning results as we do.
Motion Grades is here for you if you are looking for a professional to take care of your color grading needs. Motion Grades is a leading provider of full-color grading services, and we’re dedicated to bringing your vision to life. Our team of experts is ready to elevate your projects with precision, creativity, and an unwavering passion for stunning visuals.
So, why wait? Reach out to Motion Grades today, and let us be your partners in achieving color grading greatness. Unleash the full potential of your footage, make it pop, and captivate your audience with a visual experience they won’t forget. Trust us, the results will be nothing short of extraordinary!